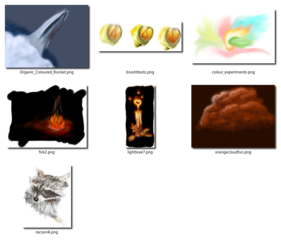
Two scripts to help you to manage the images on your wiki pages.
They both require imagemagick, the ui requires zenity.
Install imagemagick
Install zenity
How to use the scripts
Download the attached script, anywhere you like. If you want to you can place it into your $PATH. Otherwise, just keep it in a handy location. Once you've saved it: right click on the file, and select properties. Navigate to the file permissions tab, and allow executing the file as a program.
Example thumbnail of montage. |
|
Montage Maker
To use this script, point it at a directory with the images you wish to collate into one image. After this, choose a filename and location to save your montage.
- If you have problems with your svg thumbnailing in the montage, prerender a raster (pixel-based) version to place in the directory instead.
The script will try to thumbnail everything in the directory, so prepare it properly first.
- The CLI mode requires first a directory and then the output filename.
If you've saved it to the default location with Firefox, you could also run chmod +x ~/Desktop/montagemaker to make it executable
Thumbnailer
This script will thumbnail all the files you select, appending _thumb to them. There is a configuration section where you can change height, width, appended name, etc, as well as instructions for commenting and uncommenting some features.
- Be aware that the script by default will render a raster version of the svg with the same name.
This will overwrite any prerendered version of the same name.
It supports raster and svg images, svg support requires Inkscape
- To select multiple files, hold the control button while you select them.
- By default it automatically appends _thumb to the filename.
If you've saved it to the default location with Firefox, you could also run chmod +x ~/Desktop/thumbnail to make it executable
