OBI
|
Size: 11550
Comment:
|
Size: 11636
Comment:
|
| Deletions are marked like this. | Additions are marked like this. |
| Line 191: | Line 191: |
| === Here are some the screenshots of the version 1.0 and 1.1 === | === Here are some screenshots of the version 1.0 and 1.1 (followed by version 1.2 below) === |
| Line 263: | Line 263: |
| === Here are some screenshots of the version 1.2 === |
One Button Installer, 'OBI'
advanced OBI level # new |
Typical cases for the One Button Installer
Tool that is easy to use and just works
The normal linux installers that come with iso files are complicated to use or freeze during the installation process, and you want a tool that is easier to use and just works.
Replace Windows XP
Replace Windows XP because you want the computer to work faster or smoother with an Ubuntu based linux operating system, or at the end of life in April 2014, when there will be no more security updates for Windows XP.
Backup
You want a simple method to backup (and restore) your whole installed linux system. The One Button Installer combines installation, backup and restore in one set of tools.
Your own portable Ubuntu based linux system
You want to make your own linux system portable and port it to a USB pendrive or to be installed in another computer to be used by yourself, or to be uploaded to the internet for sharing with other people. The One Button Installer can do it in a simpler way than to remaster the code and make an own iso file.
General description
Please view or download this General description file.
and view this Lubuntu Q&A Session - YouTube
How to install and run the OBI
OBI quick start manual
Please view or download this OBI quick start manual file with a short description how to make a boot drive with the OBI and how to use the OBI to install an Ubuntu based linux operating system.
README
If you want to read more, please view or download this README file, which describes with more details how to make a boot drive with the OBI and how to use the OBI to install an Ubuntu based linux operating system to your computer, to make a portable system or to make a tarball from an existing system for backup or sharing.
Download the following files
new tarballs at the final stage of an OEM install by Federico Leoni |
- Update:
New tarballs created by Federico Leoni are uploaded at http://phillw.net/isos/one-button-installer/ and easy to try with the OBI: Kubuntu, Ubuntu, Ubuntu Gnome and Xubuntu 13.10 in the final stage of an OEM installation, corresponding to Lubuntu_13.10oct30.tar.xz
- Kubuntu_13.10oem-nov23.tar.xz
- Ubuntu_13.10oem-nov22.tar.xz
- Ubuntu_Gnome_13.10oem-nov25.tar.xz
- Xubuntu_13.10oem-nov22.tar.xz
- end update
Select the Lubuntu compressed image file (the installer and one tarball)
dd_lubuntu-13.04-obi-sept1_4GB_10.img.xz
or the blank compressed image file (only the installer)
dd_blank-obi_4GB_12.img.xz
and at least one of the tarballs (check for new tarballs at the websites for downloading).
bodhi-230-nonpae.tar.xz
GnomeClassic1204-oem.tar.xz
GnomeClassic1204.tar.xz
Kubuntu_13.10oem-nov23.tar.xz          # new
KubuntuPrecise.tar.xz
lubuntu-10.04.tar.gz     # good for old systems but past end of life of desktop packages
Lubuntu_13.04sept1.tar.xz
Lubuntu_13.10oct18-tweaked.tar.xz
Lubuntu_13.10oct30.tar.xz
Lubuntu_13.10oem-oct28-tweaked.tar.xz
Lubuntu_13.10oem-oct30.tar.xz
LubuntuCoreSaucy.tar.xz
lxle-2013-08-19.tar.xz
OneButtonInstaller_blank-noswap_12.tar.xz
ubuntu-10.04.tar.gz          # good for old systems but past end of life of desktop packages
Ubuntu_13.10oem-nov22.tar.xz           #new
Ubuntu_Gnome_13.10oem-nov25.tar.xz     #new
Xubuntu_13.10oem-nov22.tar.xz          #new
xubuntu-precise.tar.xz
plus a script file and a signed list of the md5sums.
mkusb
md5sums.txt.asc
from http:/phillw.net/isos/one-button-installer or from this google drive address where a complete set of files are available. If one website is slow or unreliable when you want to download, use the other one!
All files are listed in this link.
Test the One Button Installer in a virtual machine
Download a virtual disk for testing the OBI in Virtual Box
Virtual Box can connect to peripheral devices and mass storage devices via USB, but not boot. Instead, the OBI can be installed to a [virtual] hard disk drive. The virtual machine will boot from the first virtual disk, so you must put it on top in the 'storage managing window'. Later, when you want to boot from the installed system, you must switch the order of the virtual disks. There is a compressed virtual disk with the OBI in
http://phillw.net/isos/one-button-installer/vboxdisks/
Expand it (from vdi.xz to vdi) and connect it to a virtual machine, and you can test the OBI in Virtual Box without the extra problems to get the OBI into the virtual machine and installing it.
The standard tarballs can be downloaded via Download tarball in the main menu and used in order to install systems to a second virtual disk.
KVM can boot from a USB drive and even an image file
If a 64-bit host operating system in a machine with hardware virtualization is available, install a KVM virtual machine. Otherwise Virtualbox might be more efficient.
Install a virtual machine using KVM, qemu, and virt-manager according to this wiki page
https://help.ubuntu.com/community/KVM/VirtManager
It is fast and very similar to installing and running in a real system.
You don't need a special virtual disk file for KVM. You can mount the OBI image file (after expansion from img.xz to img) and it can be used as a virtual SATA disk. If it is the first disk, the virtual machine will boot from it. You can also press F12 at boot and select boot drive.
The standard tarballs can be downloaded via Download tarball in the main menu and used in order to install systems to a second virtual disk.
Improvements
1.0
1. The dialogue has been improved by using screens made with the linux program dialog. It means a menu style similar to that of the alternate installer and the mini.iso. See the attached pictures.
2. The compression of the dd-image files and the tarballs is improved. The original compression was using gzip. It is still available, but now xz compression is also available, and xz compression is more than 20% more efficient, often 30% (meaning that the size of the compressed file is 20-30% smaller than a gzipped file). xz is slower and needs more memory, but not too much. During a test with low RAM, 128 MB, extracting the tarball with xz used 62 MB while extracting with gzip used 49 GB. Downloading is usually the bottleneck, so small files are preferred.
The default compression for making an own tarball is using gzip. In the present version 1.0, you must run mktbl from the bash shell to create an xz tarball.
1.1
1. Own directory for tarballs (plus symlink)
Put and find the tarballs in
/tarballs
~/tarballs -> /tarballs
2. There is a new download system with a dialog menu, that you run from the main menu with
d Download tarball
3. From version 1.1 xz is the default compression in mktbl. You can also enter a tarball name as parameter #3 when you run mktbl from the bash shell.
1.2
advanced OBI level # new |
Basic and advanced OBI level
Most users are recommended to use the basic OBI level. This means that the OBI will install a system from a tarball into a whole device, typically an internal hard disk drive or a USB 3 pendrive. It is easy and takes only a few minutes to install a system at the basic OBI level.
The advanced level opens the door to dual boot (mainly for internal disks) and a first FAT32 partition for access from Windows (for USB pendrives). In the advanced level the OBI will let you select the partitions. It means that you can install a system from a tarball into two partitions, one root file system partition and one swap partition. This way it is possible to create a dual boot device with an existing (already installed) operating system. It is also possible to create a separate data partition with an NTFS or FAT32 file system, that can be used by linux as well as Windows.
The intention with the advanced level is to edit and create partitions with Gparted (booted from a 'regular' boot CD/DVD/USB device). One partition is labelled 'obi-root' and one (smaller) partition is labelled 'obi-swap'. Such partitions can be identified and selected automatically in the advanced level, but manual selection is also possible.
Editing partitions is risky (so you need a good backup) and it takes long time (hours) to shrink an existing partition with a lot of data (Windows), so that there will be space for new partitions.
View the pictures as a slide-show
The pictures are screen-dumps and illustrate how to use the OBI. View them with 100% resolution here or at google drive, or download them!
Here are some screenshots of the version 1.0 and 1.1 (followed by version 1.2 below)
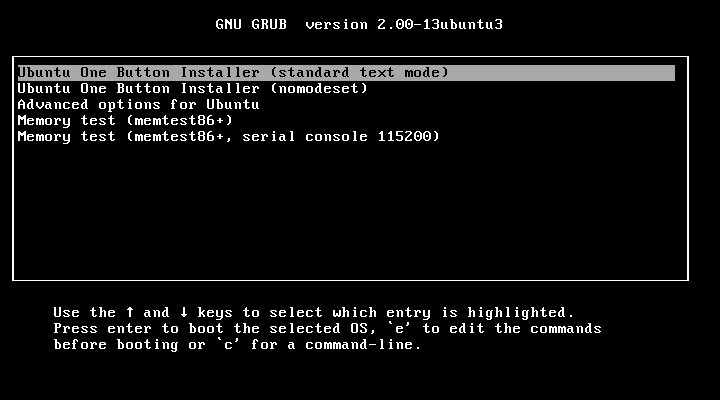
The grub menu (select nomodeset if problems with the graphics (if the text is hard to see))
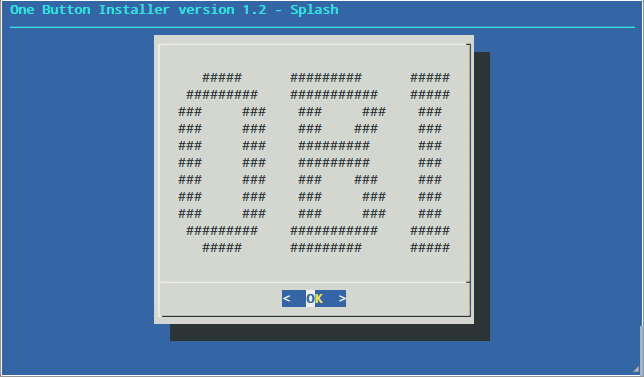
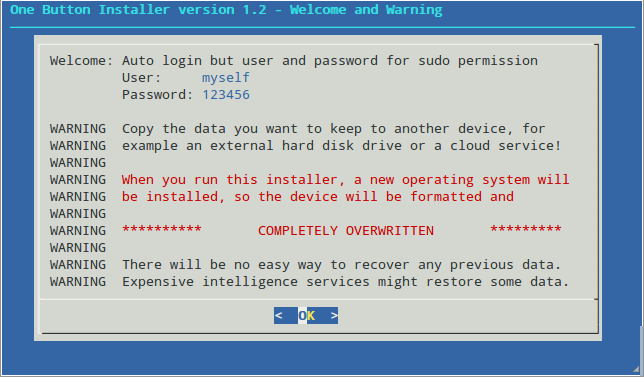
Warning and prompt for password (for superuser tasks)
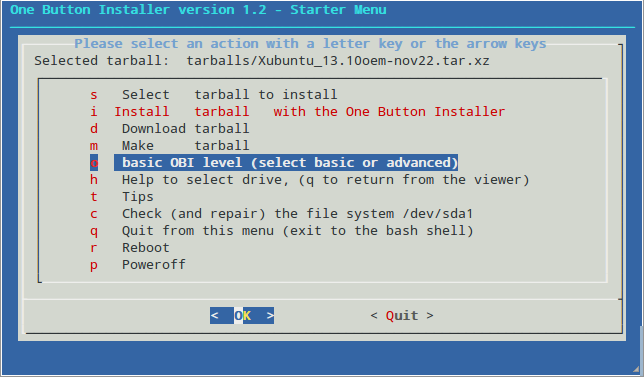
The starter menu (basic menu to select tasks)
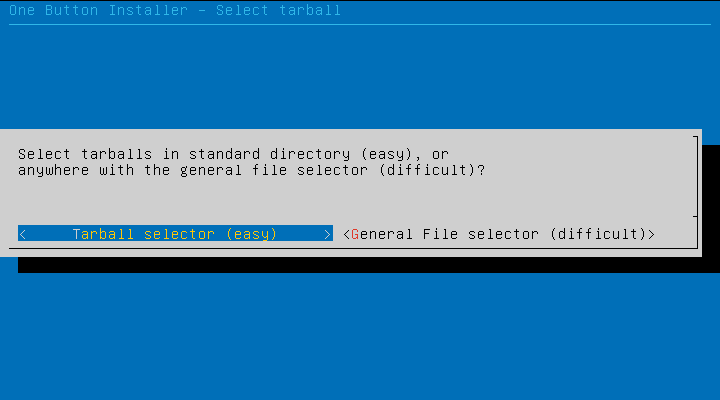
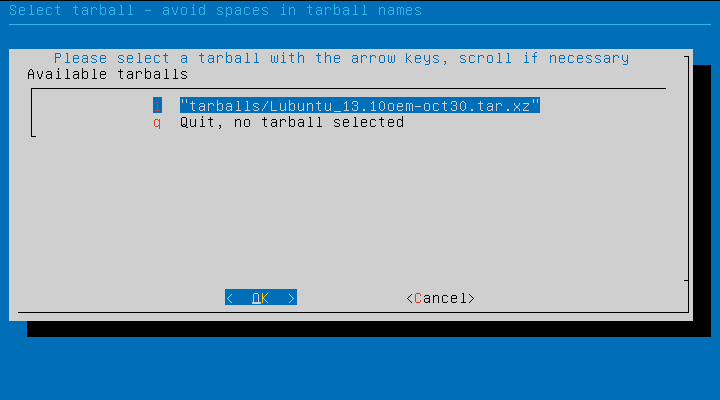


Download tarball new in version 1.1
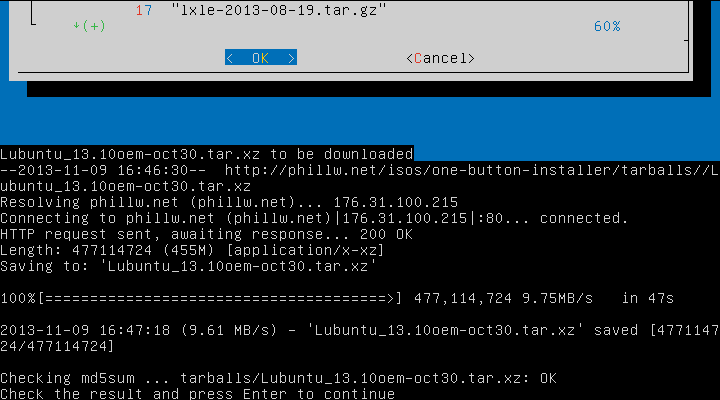
The final view when the tarball is downloaded

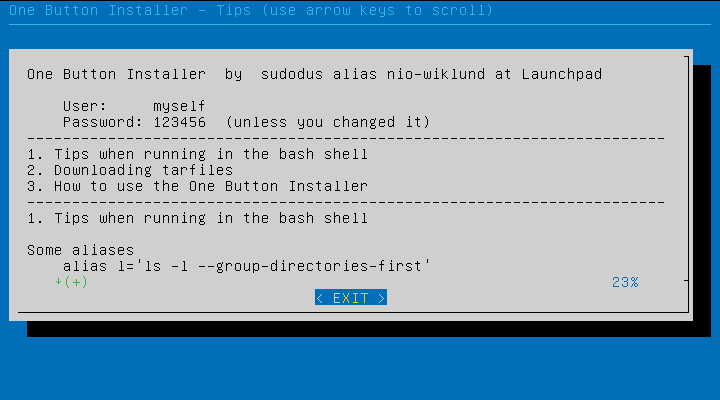
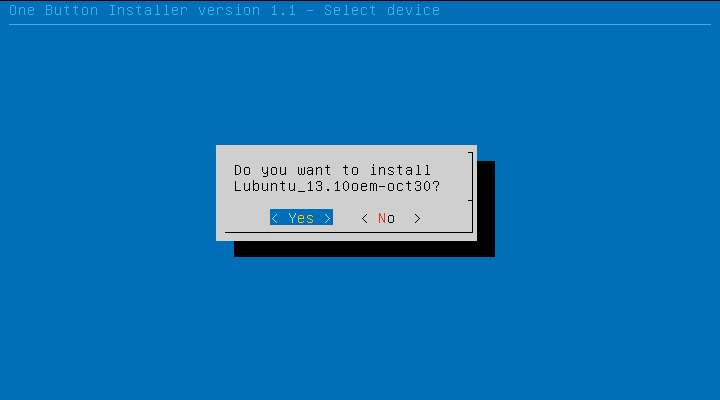
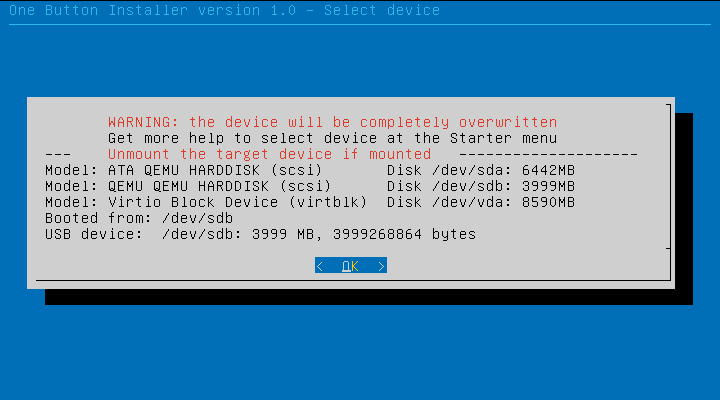

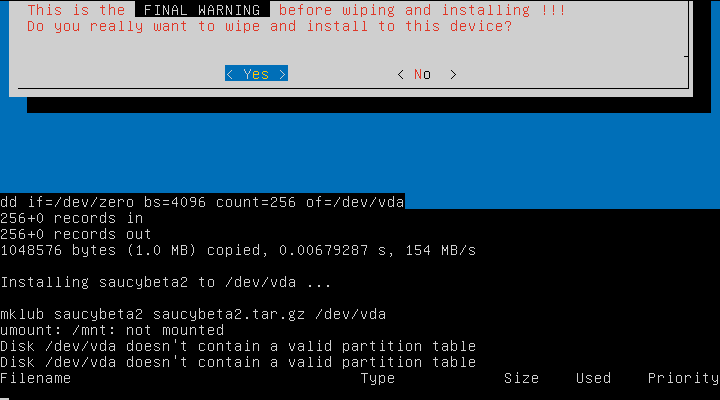
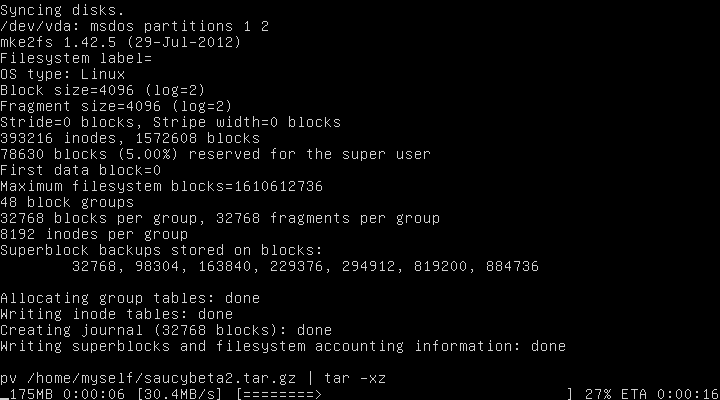


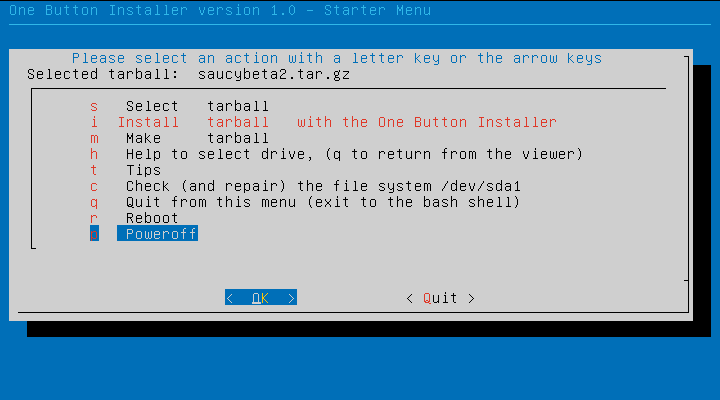
Poweroff and remove the installation media, when the installation has finished.
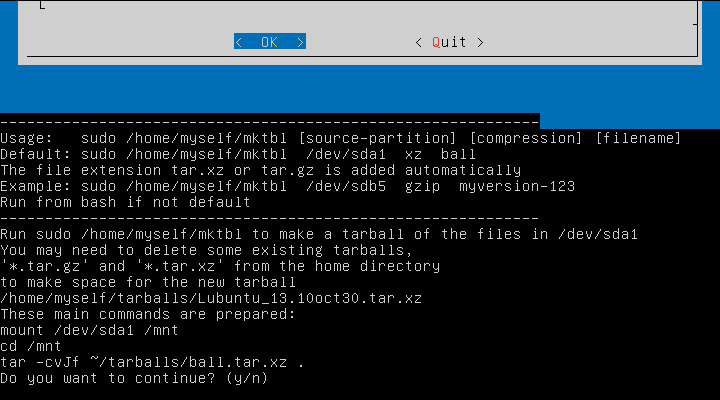
Only the default action of Make tarball is implemented via the dialog menu. Run mktbl from the command line (bash) for the other alternatives!
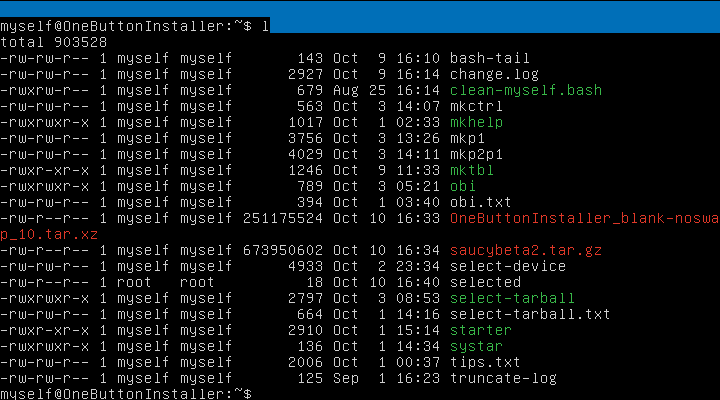
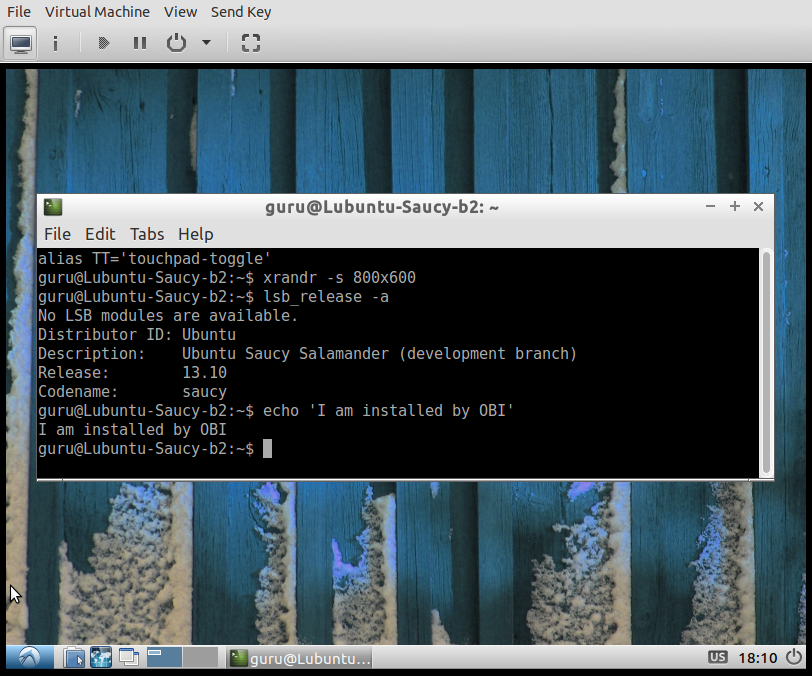


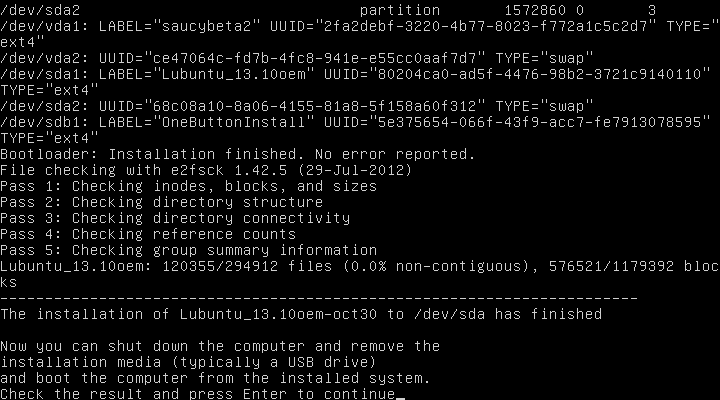
The final view when the installer has finished
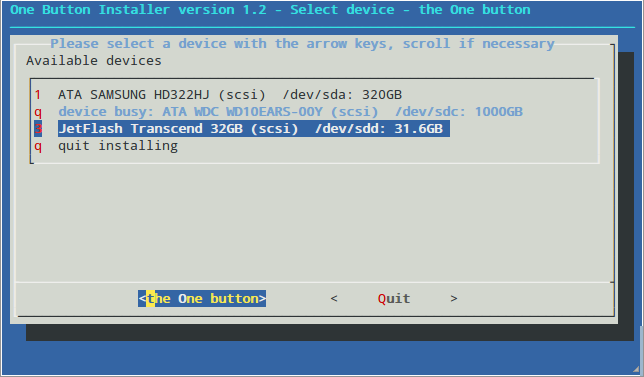
Here are some screenshots of the version 1.2
Follow the instructions in the OBI quick start manual step by step
Finally a reminder of the OBI quick start manual file ...
phillw/OBI (last edited 2013-12-31 06:47:36 by h235n2)